
Before repairing a plastic bumper cover, prepare your work area by protecting surfaces and ensuring good ventilation. Gather supplies for cleaning and debris removal, which can include pressure washing or manual scrubbing. After cleaning, thoroughly remove old repair residue with a scraper or cleaner. Properly align and secure the new bumper cover using automotive adhesive and clamps/cable ties for a long-lasting fix.
When repairing a plastic bumper, proper cleanup is crucial for ensuring a seamless finish. This guide outlines best practices for a thorough and effective cleaning process after your plastic bumper cover repair. From preparing the work area to applying new adhesives, each step is detailed for a successful restoration. Protecting surfaces and gathering the right supplies sets the stage for removing old residue and achieving a flawless installation of your plastic bumper cover.
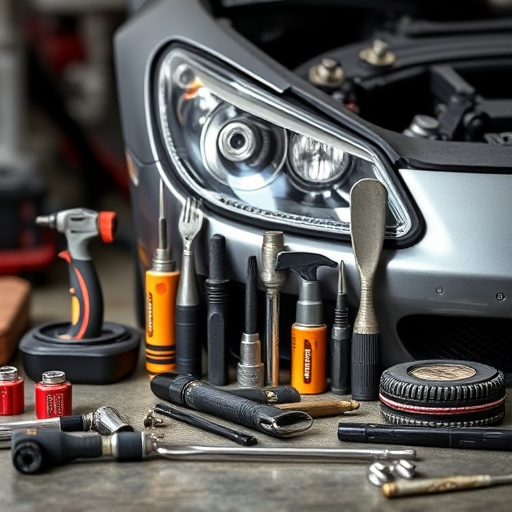
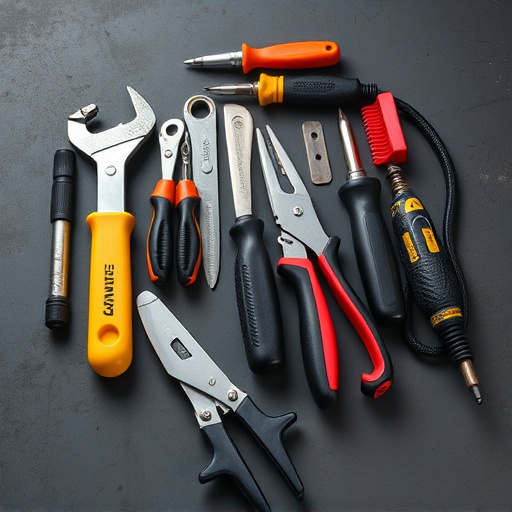
- Prepare the Work Area: Protect Surfaces and Gather Supplies
- Remove Old Repair Residue: Scrape and Clean Thoroughly
- Apply New Adhesive and Install the Plastic Bumper Cover Properly
Prepare the Work Area: Protect Surfaces and Gather Supplies
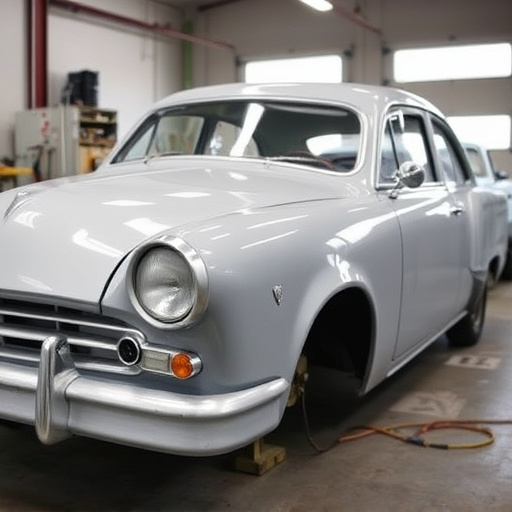
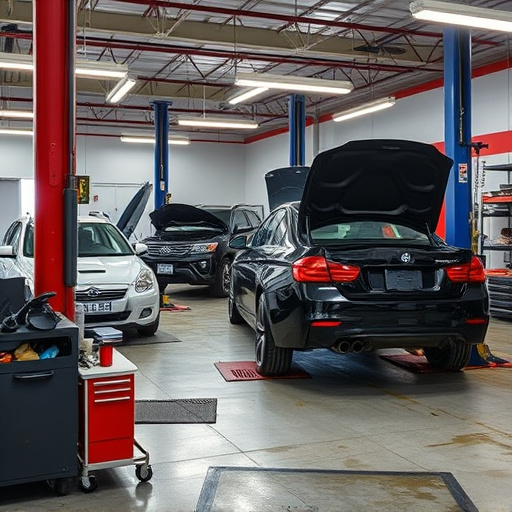
Before you begin cleaning after a plastic bumper cover repair, preparing your work area is crucial for achieving optimal results and maintaining a safe environment. Start by covering adjacent surfaces with drop cloths or plastic sheeting to protect them from any debris or chemicals used in the cleaning process. This step, though often overlooked, prevents damage to your car’s finish or nearby furniture. Ensure good ventilation in the auto body shop as well; open windows and doors can help disperse any fumes that may arise during the cleaning process, especially if you’re using strong cleaners.
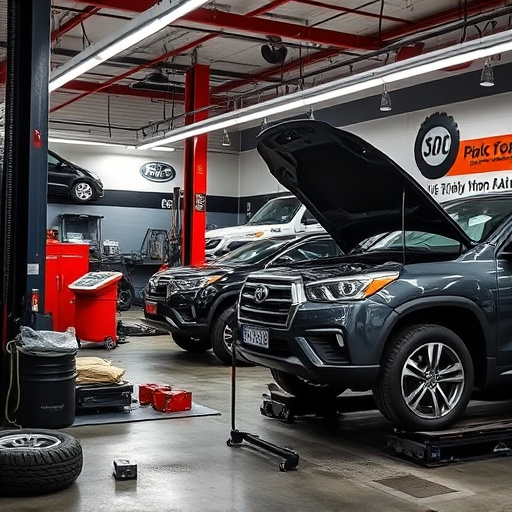
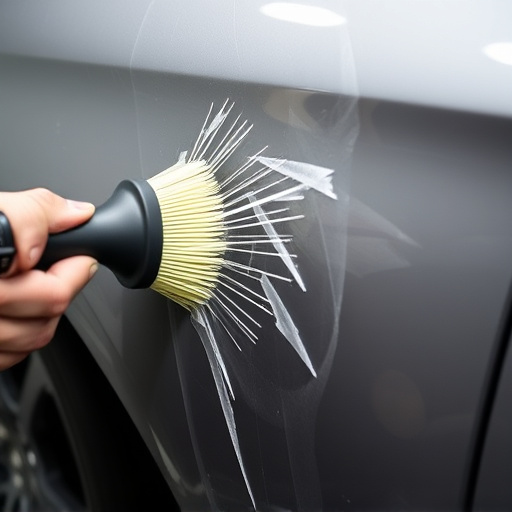
Gather all necessary supplies, including a mild detergent suitable for plastic, soft cloths or sponges, and clean, disposable rags. You might also need a microfiber towel for polishing once the bumper is thoroughly cleaned. Some auto body shops prefer using a pressure washer for initial debris removal, while others opt for manual scrubbing with a brush to ensure no hidden dirt or grime remains after a fender bender. Having these supplies ready and organized ensures a smooth cleaning process during your plastic bumper cover repair.
Remove Old Repair Residue: Scrape and Clean Thoroughly
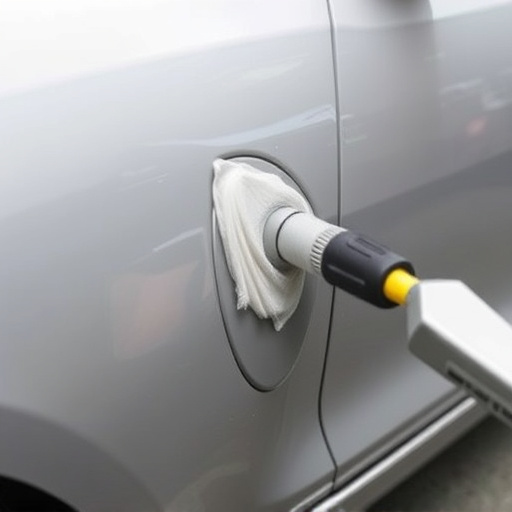
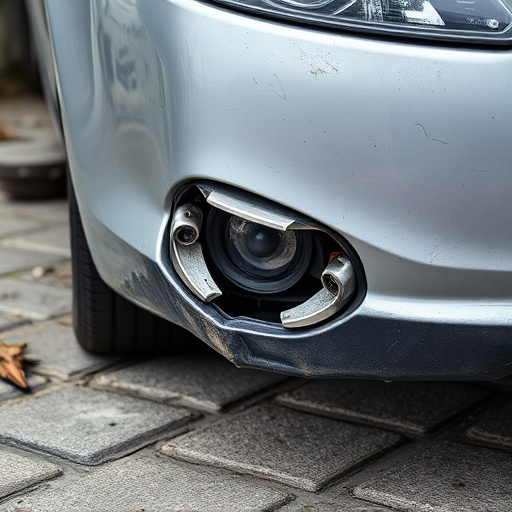
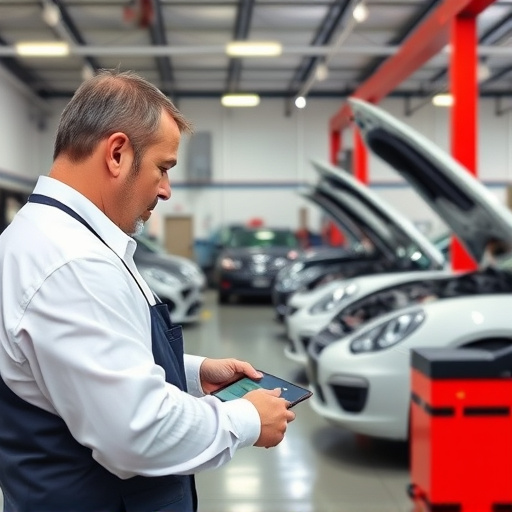
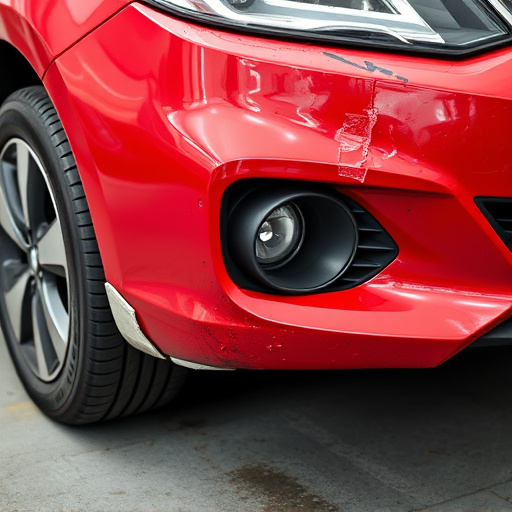
After plastic bumper cover repair, removing old repair residue is a crucial step. Use a scraper or a specialized cleaner to thoroughly scrape away any remaining adhesive, paint, or debris from the surface. This ensures that no foreign materials contaminate the newly repaired area and compromises its integrity.
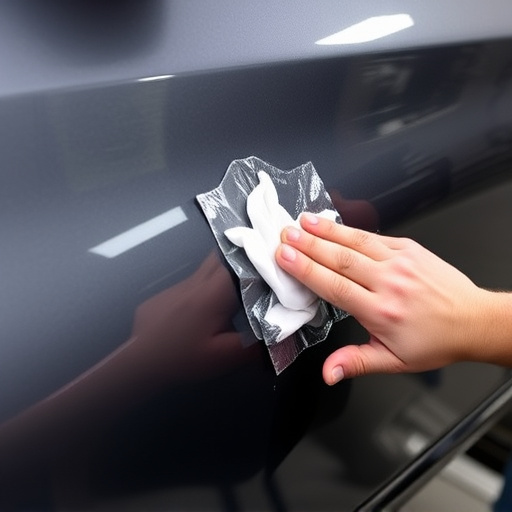
Clean the surface with a mild detergent and a soft cloth to eliminate any residual buildup. Pay close attention to crevices and edges where residue might have hidden. A clean, residue-free bumper not only enhances the aesthetics but also promotes better adhesion for new repairs or paint jobs at an auto collision center or collision repair shop. This meticulous cleaning process is often overlooked but is a critical best practice in auto body shops to ensure long-lasting results.
Apply New Adhesive and Install the Plastic Bumper Cover Properly
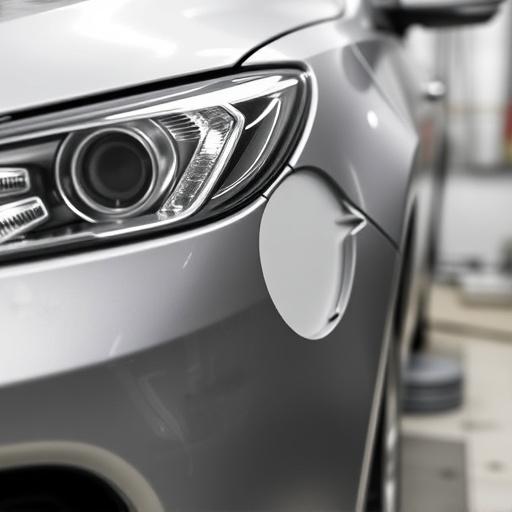
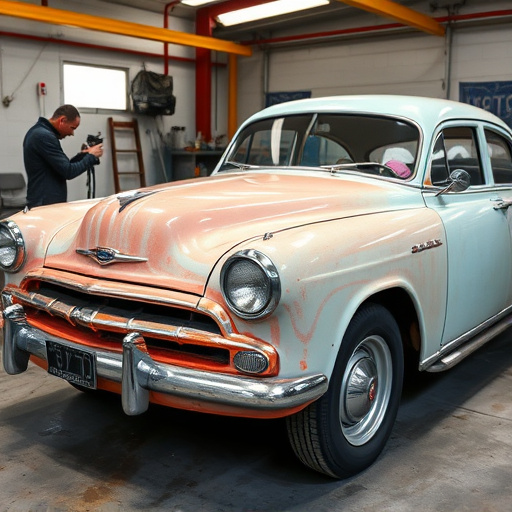
After ensuring the surface is clean and prepared, it’s time to apply new adhesive and install the plastic bumper cover properly. This step is crucial for achieving a durable and seamless repair. Start by carefully cleaning the area around the damaged section of your car’s bumper using mild soap and water, removing any debris or dirt. Once dry, apply a thin layer of high-quality automotive adhesive suitable for plastic materials. Allow it to set according to the manufacturer’s instructions before proceeding.
When installing the new plastic bumper cover, ensure it aligns perfectly with the existing bumper and fits securely into all the designated slots or fasteners. Use tools like clamps or cable ties (recommended by your auto collision center) to temporarily hold the cover in place until the adhesive sets completely. This meticulous process guarantees a long-lasting fix for your car scratch repair, enhancing the overall aesthetics of your vehicle through professional auto repair services.
After carefully preparing the work area, removing old repair residue, and applying a fresh adhesive, it’s time to install your new plastic bumper cover. Ensure proper alignment for a seamless finish, protecting not only your vehicle but also your workspace with meticulous cleaning practices. Following these best practices guarantees a successful plastic bumper cover repair, enhancing your car’s aesthetics and longevity.