


For successful plastic bumper cover repairs, prepare a clean, organized workspace with good ventilation and lighting. Use safe, environmentally friendly cleaning products recommended for automotive restoration on plastic to preserve the bumper's material integrity. After repair, thoroughly clean the area using a vacuum, mild soap and warm water, and a microfiber cloth to prevent marks and ensure a seamless finish.
When it comes to cleaning after a plastic bumper repair, proper techniques are essential for achieving a flawless finish. This comprehensive guide outlines best practices to ensure your vehicle’s exterior looks as good as new. From preparing your workspace for maximum efficiency to selecting safe and effective cleaning products, we’ve got you covered. Learn the step-by-step process to achieve a spotless bumper repair job that enhances your vehicle’s aesthetics and value.
- Prepare Your Workspace for Efficient Cleaning
- Safe and Effective Cleaning Products Selection
- Detailed Step-by-Step Cleaning Process
Prepare Your Workspace for Efficient Cleaning

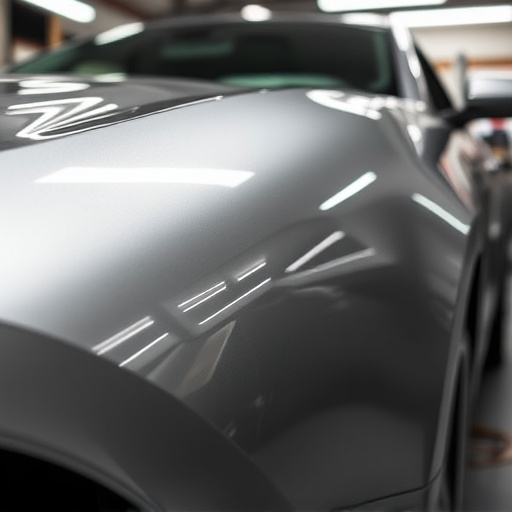
Before diving into the cleaning process after a plastic bumper cover repair, it’s crucial to prepare your workspace for maximum efficiency and minimal mess. Clear a dedicated area where all necessary tools and supplies will be easily accessible. This space should ideally be well-ventilated, especially if you’re using chemical cleaners, to prevent inhalation of harmful fumes. Ensure proper lighting so that intricate details are visible during the cleaning process. Remove any loose debris or items from the workspace, creating a clean canvas for meticulous work.
Organize your tools and materials in designated areas, keeping similar items together. This systematic approach will save time and reduce confusion as you switch between tasks. A well-prepared workspace not only streamlines the cleaning process but also ensures that every aspect of the repaired plastic bumper cover receives the attention it needs, leading to a flawless finish and ensuring top-quality auto body repair services or collision center work.
Safe and Effective Cleaning Products Selection
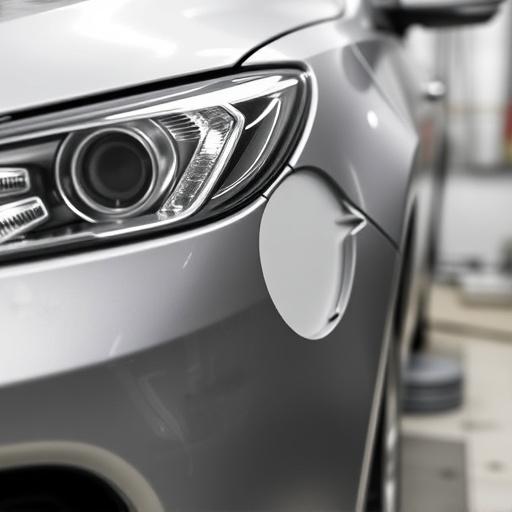
When it comes to cleaning after a plastic bumper cover repair, selecting safe and effective cleaning products is paramount. Opt for environmentally friendly options that won’t damage the newly repaired surface or cause adverse health effects. Avoid harsh chemicals commonly found in household cleaners as they can strip away protective coatings and impact air quality. Instead, choose water-based solutions specifically designed for automotive restoration, which are both gentle and powerful at removing dirt, dust, and debris.
Consider products that are recommended for use on plastic to ensure compatibility with the bumper’s material. Always follow the manufacturer’s instructions for application and dilution ratios. Using the right cleaning agents ensures a thorough yet safe clean, preserving the integrity of your auto repair near me and extending the life of the repaired bumper repair.
Detailed Step-by-Step Cleaning Process
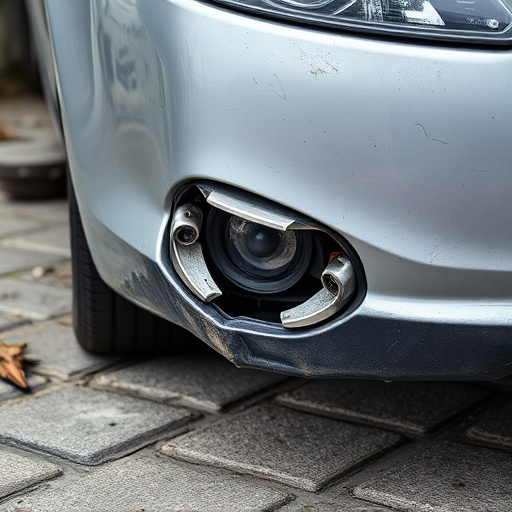
After a plastic bumper cover repair at an auto body shop, thorough cleaning is essential to ensure a seamless finish and prevent any unsightly marks. Here’s a detailed step-by-step process to achieve a sparkling result:
1. Remove Debris: Start by gently vacuuming the area around the repaired bumper to eliminate any loose dirt or debris. This initial step ensures a clean canvas for the subsequent cleaning process.
2. Soap and Warm Water: Prepare a solution of mild soap and warm water. Dip a microfiber cloth into the solution, wring it out well, and gently wipe down the entire bumper surface. Pay close attention to corners and edges where dirt might accumulate.
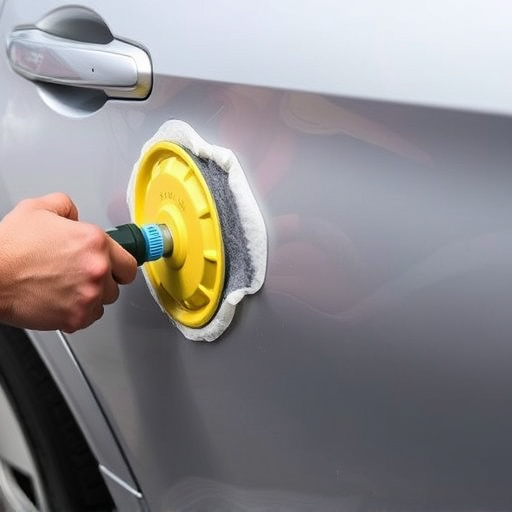
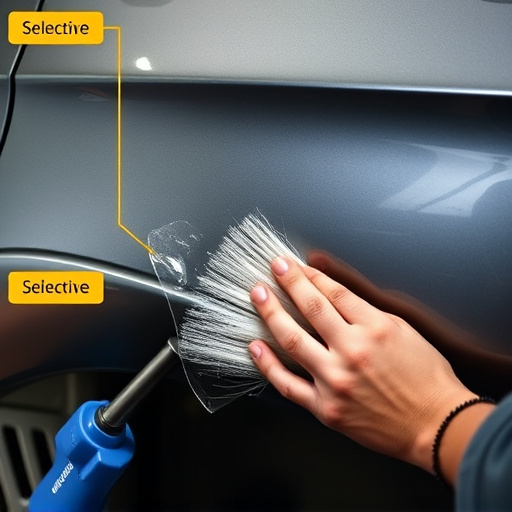
3. Scrub with Soft Brush (Optional): For tougher stains or marks, use a soft-bristled brush dipped in the soapy water to gently scrub the affected areas. Be careful not to scratch the repaired surface.
4. Rinse Thoroughly: After scrubbing, rinse the bumper thoroughly with clean, warm water to remove all soap residue. Ensure no bubbles remain as these can leave spots.
5. Dry with Microfiber Towel: Finally, dry the bumper gently using a microfiber towel. This step is crucial, especially if the weather is humid or there’s a chance of rain, to prevent water spots from forming. Remember, a clean and dry bumper post-repair ensures longevity and preserves the aesthetics of your vehicle, especially after an incident like a fender bender.
When it comes to cleaning after a successful plastic bumper cover repair, efficiency and safety are key. By preparing your workspace and selecting the right cleaning products, you can ensure a thorough and effective clean that restores your vehicle’s exterior to its best. Following our detailed step-by-step guide, you’ll be able to achieve spotless results every time, maintaining the quality of your plastic bumper repair for longer.